
Un movimiento en falso al quitar un protector de pantalla puede causarte un rayón que no hiciste tú mismo. O peor, una pantalla agrietada por demasiada presión en el lugar equivocado. ¿La buena noticia? Quitar un protector de pantalla de tu iPhone es sencillo cuando conoces el método correcto. Aquí tienes el proceso completo y sin daños de principio a fin.
Cuándo es momento de quitar tu protector de pantalla
No todos los protectores de pantalla necesitan quitarse de inmediato. Pero cuando alguna de estas situaciones ocurre, es momento:
- Agrietado o roto. Un protector roto ya cumplió su función. Mantenerlo puede permitir que los bordes afilados rayen la pantalla real.
- Burbujas o bordes que se levantan. Cuando un protector comienza a despegarse por las esquinas, el polvo y los residuos se meten debajo, y el adhesivo solo se debilita más.
- Rayado hasta el punto de afectar la visibilidad. Una superficie muy rayada significa que el protector está desgastado. Esa es la señal para cambiarlo.
- Actualizar a un protector mejor. Si vas a cambiar a una opción de vidrio templado de mayor calidad, quitar el protector viejo de forma limpia es el primer paso para una instalación nueva y perfecta.
Cuando alguna de estas situaciones ocurra, no lo demores.
Herramientas que realmente necesitas (y qué evitar)
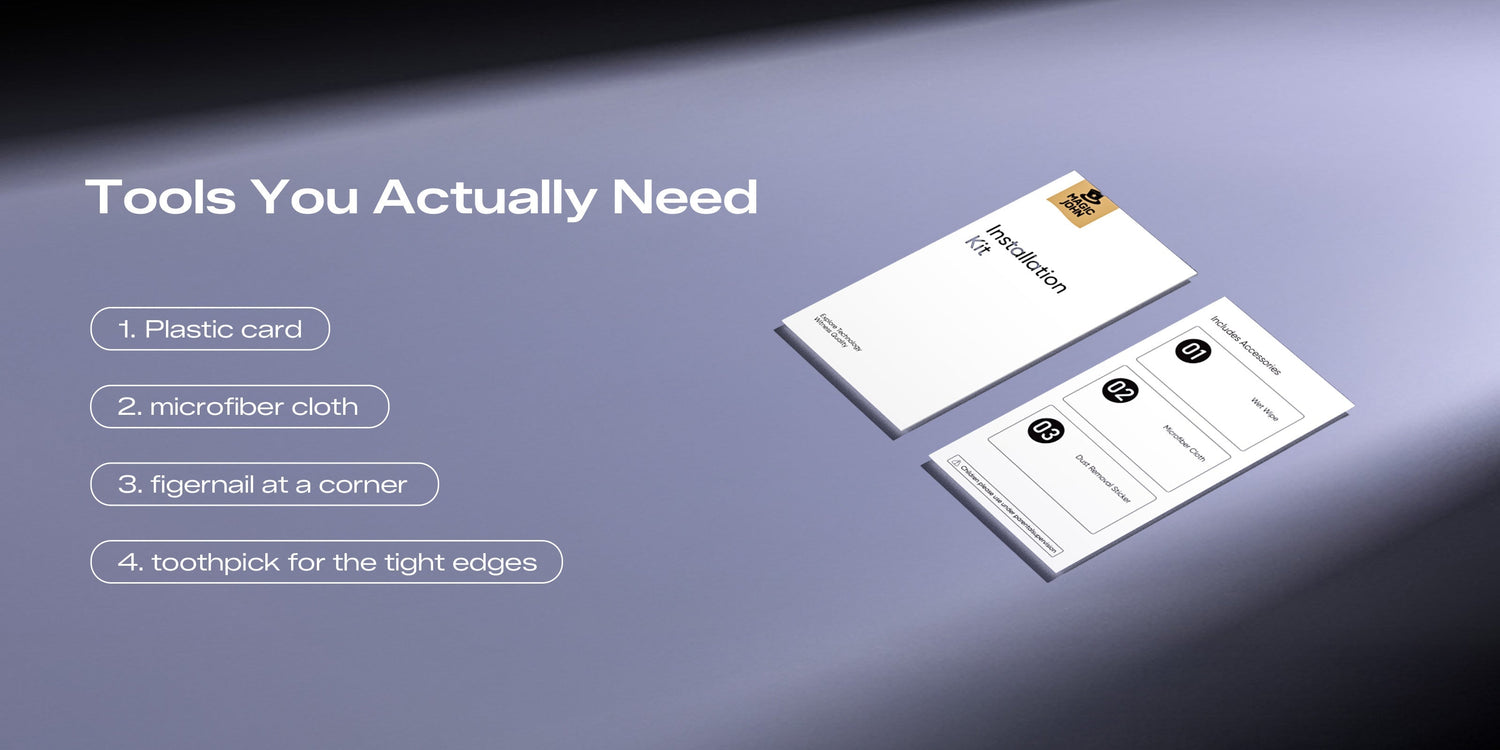
Quitar un protector de pantalla de forma segura no requiere un kit de herramientas. Pero usar los elementos correctos y evitar los incorrectos hace toda la diferencia.
| Herramientas | |
| Usa | Tarjeta de plástico (tarjeta de regalo antigua o tarjeta de fidelidad), paño de microfibra, uña en una esquina (usada con suavidad), palillo para bordes estrechos |
| Evita | Objetos metálicos (cuchillos, llaves, palancas metálicas), herramientas afiladas cerca de los bordes de la pantalla, fuerza excesiva o hacer palanca en el centro |
Proceso seguro de remoción paso a paso
Esta es la parte que más importa. Sigue estos pasos tanto si tienes un protector de película estándar como un protector de pantalla de vidrio templado en tu iPhone.
Para protectores de película estándar
- Reduce el brillo de tu pantalla para que puedas ver claramente los bordes sin reflejos.
- Encuentra una esquina para comenzar. Presiona suavemente tu uña contra el borde del protector (no contra el vidrio debajo) y crea una pequeña abertura en una esquina inferior.
- Desliza una tarjeta de plástico por debajo del borde. Sostén la tarjeta en un ángulo bajo, casi plano, y muévela lentamente hacia adentro para aflojar el adhesivo.
- Despega gradualmente. Tira en un ángulo bajo, casi paralelo a la pantalla, en lugar de hacia arriba. Esto reduce la tensión en tu pantalla.
- Retira en un solo movimiento suave hasta que la película se desprenda por completo.
Para protectores de pantalla de vidrio templado
Quitar el vidrio templado de tu iPhone requiere un poco más de cuidado. El vidrio no se flexiona, así que no puedes despegarlo de la misma manera.

- Empieza siempre por una esquina. El vidrio templado se levanta desde los bordes. Prueba primero la esquina inferior. Presiona suavemente con la uña a lo largo del borde lateral para ver si puedes separar algo.
- Usa un palillo para hacer palanca. Si tu uña no tiene tracción, inserta un palillo horizontalmente en la ranura y ángulalo suavemente para crear un pequeño levantamiento. No lo fuerces.
- Introduce una tarjeta de plástico bajo el vidrio. Deslízala bajo la esquina levantada y avanza lentamente a lo largo del borde inferior. No estás haciendo palanca; estás guiando el adhesivo para que se libere.
- Levanta de manera uniforme por ambos lados. Una vez que el borde inferior esté suelto, usa tus pulgares en ambas esquinas inferiores y levanta el vidrio hacia arriba de forma pareja. La presión desigual puede hacer que el vidrio se rompa.
- Deslízalo hacia afuera. Una vez que la parte inferior esté libre, el resto debería levantarse suavemente. Si sientes resistencia en la parte superior, mueve tu tarjeta a lo largo de ese borde antes de tirar más.
Consejo: Si el vidrio se siente pegado, unos segundos de calor suave con un secador de pelo (a 15–20 cm de distancia, en la configuración más baja) pueden ablandar el adhesivo lo suficiente para ayudar a despegarlo.
Cómo manejar residuos de adhesivo difíciles
A veces, al quitar un protector de pantalla de tu iPhone, queda una capa delgada y pegajosa. Esto es normal, especialmente con protectores antiguos.

- Paño de microfibra primero. Frota suavemente en círculos pequeños; así se eliminan muchas manchas ligeras.
- Alcohol isopropílico al 70% (en pequeña cantidad). Aplica unas gotas en un paño de microfibra (nunca directamente en la pantalla) y limpia suavemente.
- Evita las toallas de papel o los pañuelos. Estos pueden dejar microarañazos en tu pantalla.
- Nunca uses acetona ni quitaesmalte. Estos solventes pueden eliminar el recubrimiento oleofóbico de tu iPhone.
Trabaja despacio y por secciones en lugar de frotar de manera amplia.
La forma correcta de limpiar tu pantalla después de quitar el protector
Antes de poner un protector nuevo o simplemente usar tu teléfono sin protector, tómate un momento para limpiar la pantalla correctamente. Esto es más importante de lo que la mayoría piensa.
- Usa primero un paño de microfibra seco. Trabaja en líneas rectas de un borde al otro; los movimientos circulares pueden redistribuir aceites en lugar de eliminarlos.
- Continúa con un paño ligeramente humedecido si es necesario. Una limpieza con 70% de alcohol isopropílico funciona bien. Escurre el exceso antes de tocar la pantalla.
- Deja que la pantalla se seque completamente. Treinta a sesenta segundos son suficientes. La humedad bajo un protector nuevo causa burbujas.
- Inspecciona bajo buena iluminación. Sostén el teléfono en diferentes ángulos para detectar cualquier polvo o mancha restante antes de aplicar un reemplazo.
Una limpieza a fondo después de quitar el protector prepara la instalación siguiente para que sea exitosa.
Tu siguiente paso: consigue el protector de reemplazo adecuado

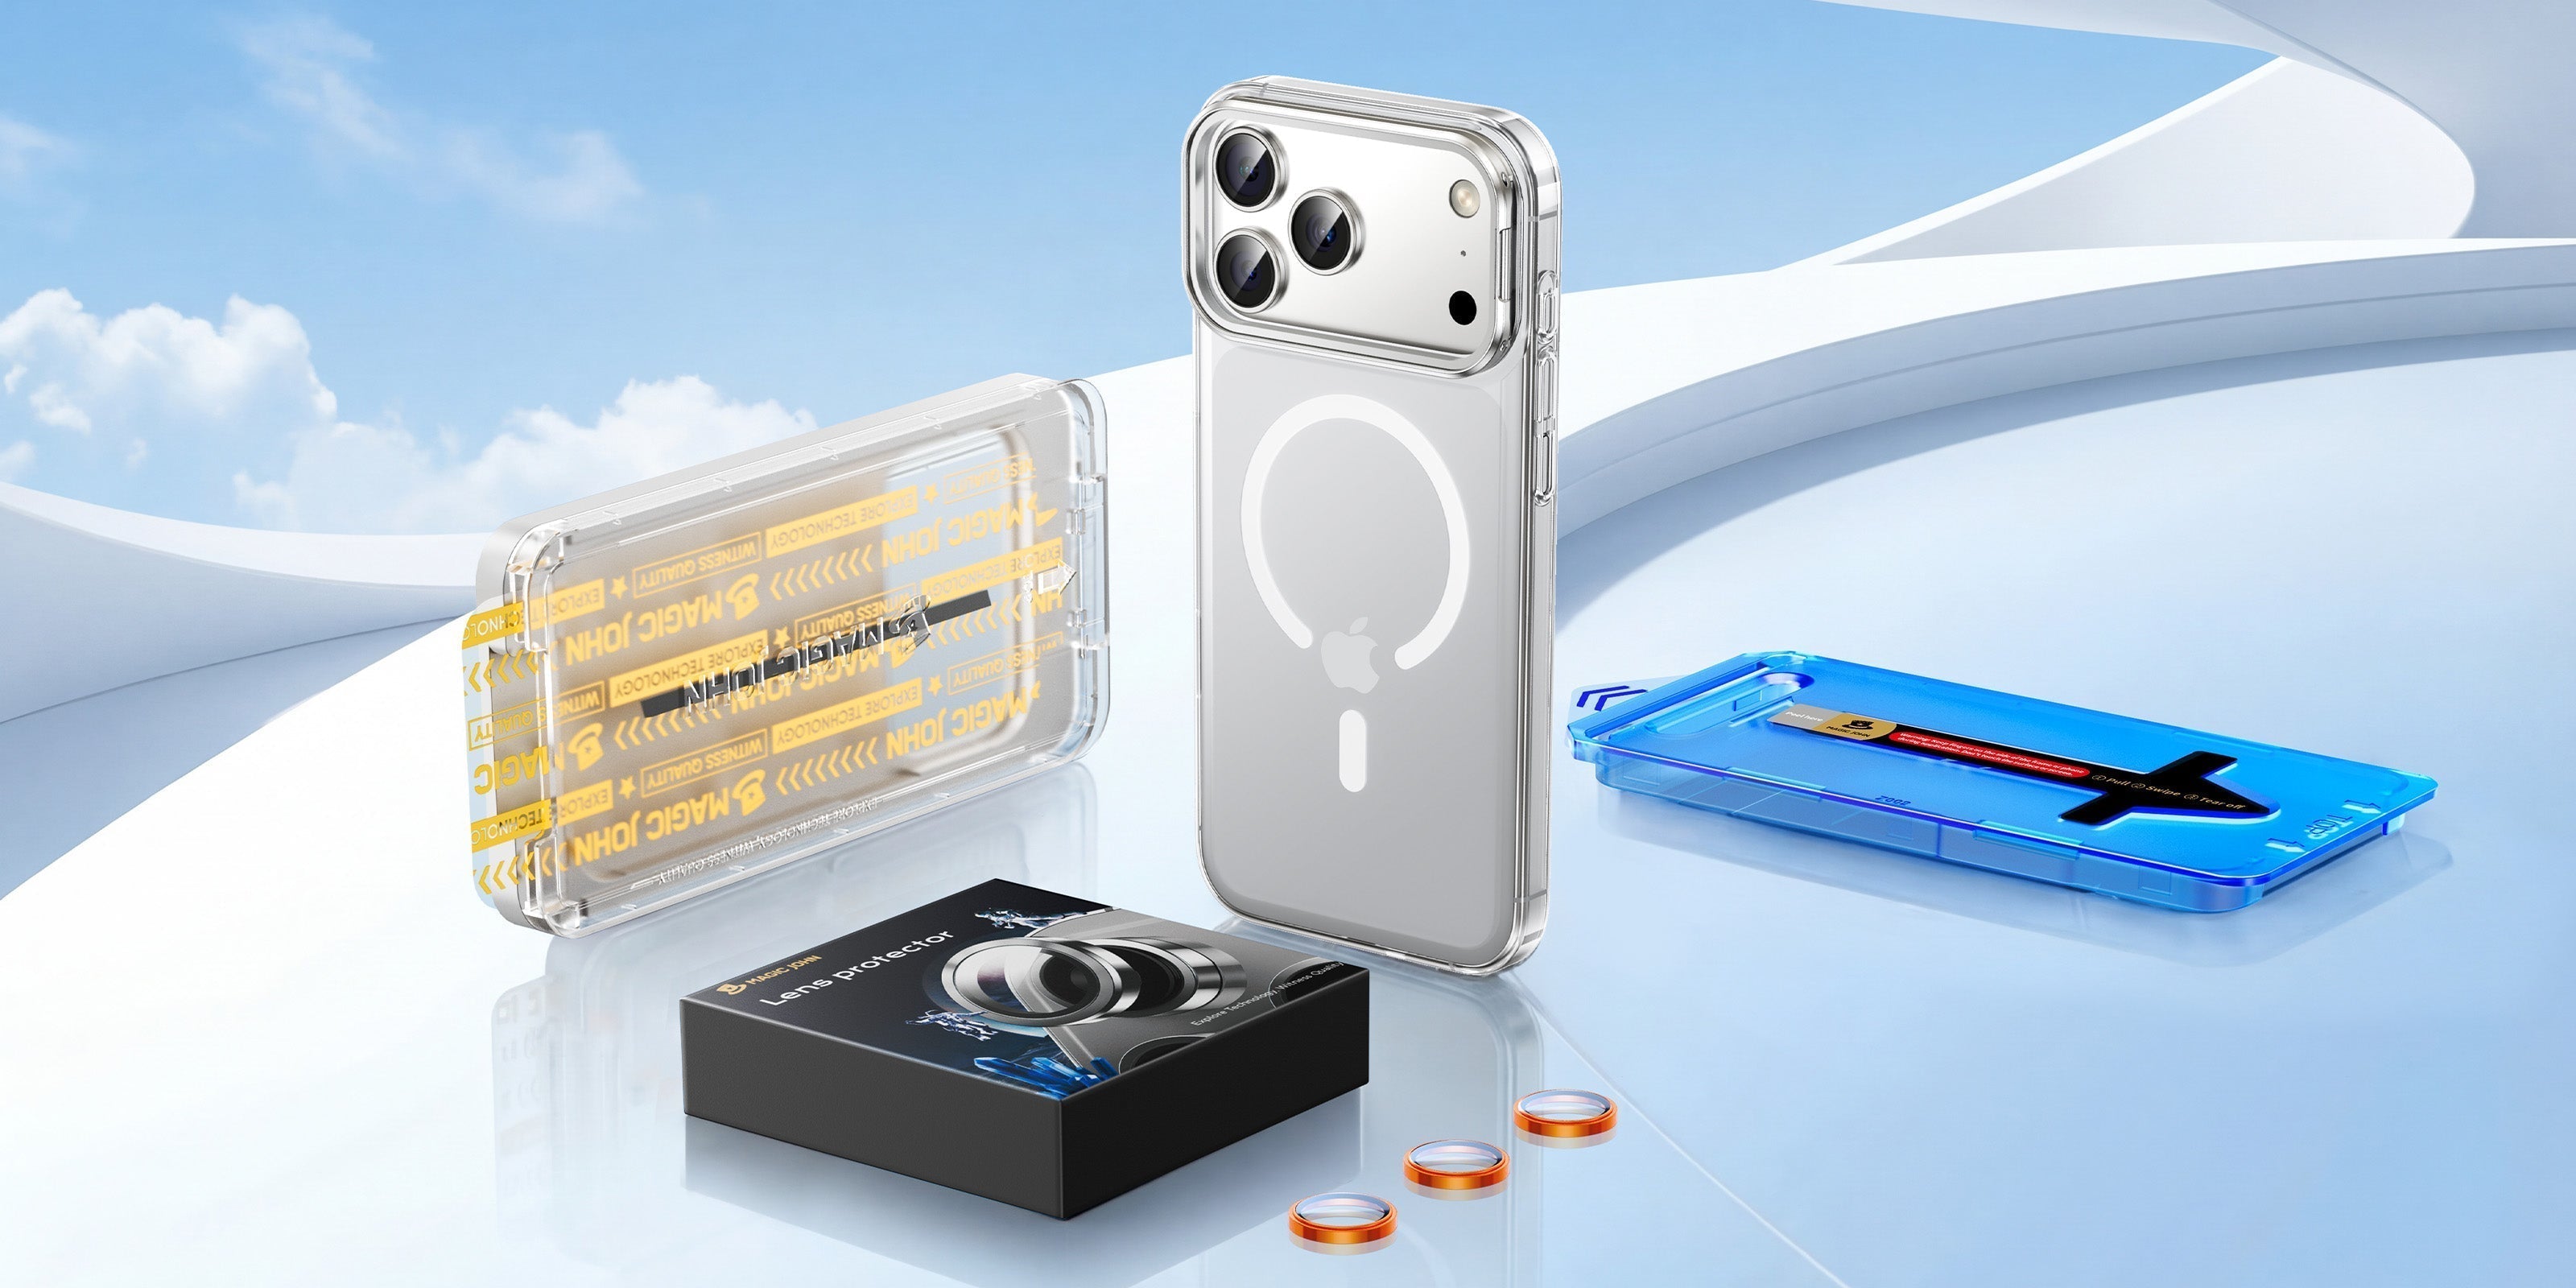
Una vez que tu pantalla esté limpia y sin residuos, reemplazar tu protector cuanto antes es la opción más inteligente. La pantalla desnuda de tu iPhone queda expuesta en el momento en que se quita el protector viejo.
Si has estado lidiando con bordes que se despegan, burbujas o un protector que nunca se ajustó bien, vale la pena actualizarlo. El Protector de pantalla de vidrio templado de tercera generación Magic John utiliza un aplicador automático libre de polvo que elimina los residuos durante la instalación, por lo que los problemas de burbujas y de alineación se eliminan prácticamente. Con una dureza 9H y cobertura de borde a borde, está diseñado para aplicarse bien desde la primera vez y mantenerse así.
Lista de verificación para una remoción sin daños
Antes de terminar, repasa esta lista rápida para asegurarte de que tu pantalla esté en perfectas condiciones:
- ✅ Usado solo una tarjeta de plástico o la uña — sin herramientas metálicas
- ✅ Levantado desde una esquina, no desde el centro
- ✅ Vidrio templado retirado de manera uniforme por ambos lados
- ✅ Eliminado cualquier residuo adhesivo con un paño de microfibra o alcohol isopropílico al 70%
- ✅ Pantalla limpia y completamente seca antes de aplicar un nuevo protector
- ✅ Listo para instalar un reemplazo de calidad — Magic John te respalda
Preguntas frecuentes sobre quitar y reemplazar protectores de pantalla
P1: ¿Puedo reutilizar un protector de pantalla después de quitarlo?
En la mayoría de los casos, no. Una vez que se levanta la capa adhesiva, esta recoge polvo y pierde su pegajosidad. Intentar volver a aplicarlo suele resultar en burbujas y mala adhesión. El mejor resultado siempre es un protector nuevo en una pantalla limpia.
P2: ¿Quitar el protector de pantalla dañará la pantalla del iPhone?
No, si sigues los pasos correctos. Levantar suavemente desde una esquina con una tarjeta de plástico no ejerce una tensión significativa en tu pantalla. El riesgo de daño viene de herramientas metálicas, forzar desde el centro o hacer palanca de manera desigual en vidrio templado. Sigue los pasos anteriores y tu pantalla estará bien.
P3: ¿Cómo quito un protector de pantalla sin una tarjeta o herramienta?
Tu uña es suficiente para empezar. Presiona suavemente en el borde de una esquina inferior hasta que sientas una pequeña separación. Para protectores de película, a menudo puedes despegarlo solo con los dedos desde ahí; tira lentamente en un ángulo bajo. Para vidrio templado, un palillo puede crear el levantamiento inicial antes de usar los pulgares para soltarlo de manera uniforme.
P4: ¿Cuánto tiempo debo esperar para poner un nuevo protector de pantalla después de quitar el viejo?
Lo antes posible. Cada minuto que la pantalla desnuda de tu iPhone está expuesta es una oportunidad para que el polvo o los arañazos se instalen. Ten tu reemplazo listo antes de comenzar a retirarla para que el proceso sea rápido. Si vas a cambiar a un protector de vidrio templado Magic John, el aplicador libre de polvo hace que la instalación sea tan rápida que tu pantalla no quedará desprotegida por mucho tiempo.

Deja un comentario
Este sitio está protegido por hCaptcha y se aplican la Política de privacidad de hCaptcha y los Términos del servicio.