
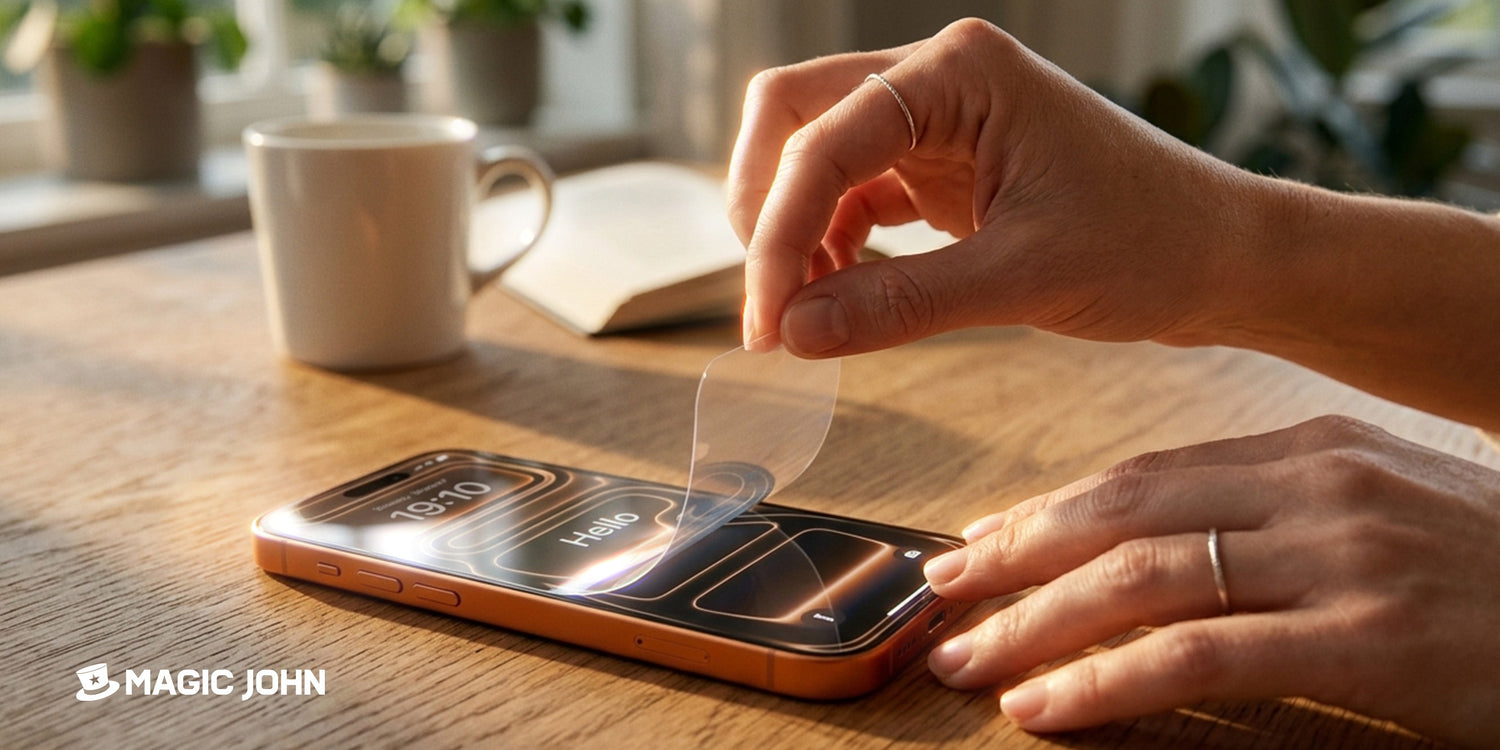
Viele Menschen zerbrechen oder zerkratzen ihren Bildschirm nicht durch Stürze, sondern beim Entfernen. Ein Fingernagel rutscht unter die falsche Ecke, eine Karte wird zu steil angesetzt, und plötzlich ist nicht nur der Schutz beschädigt. Die gute Nachricht: Gehärtete Glas- und weiche Folien-Schutzfolien werden unterschiedlich entfernt, und zu wissen, welche Sie haben, ändert alles daran, wie Sie vorgehen sollten.
Wann es Zeit ist, Ihren iPhone-Schutz zu entfernen
Nicht jeder Kratzer oder Schramme bedeutet, dass der Schutz entfernt werden muss. Hier sind vier schnelle Prüfungen, die Ihnen helfen zu entscheiden, ob es Zeit für die Entfernung des iPhone-Schutzes ist oder ob er noch eine Weile seine Arbeit tun kann.
| Was Sie sehen | Was zu tun ist |
| Risse, die sich über die Oberfläche ausbreiten | Jetzt entfernen, gesprungenes Glas kann Finger schneiden |
| Kanten heben sich oder lösen sich ab | Bald ersetzen, Schmutz wird darunter eingeschlossen |
| Hartnäckige Blasen, die sich nicht herausdrücken lassen | Ersetzen, die Haftung ist gebrochen |
| Nur leichte Oberflächenkratzer | Lassen Sie es, das ist der Schutz, der seine Arbeit macht |
Das Entfernen eines iPhone-Schutzfoliens zu spät, nachdem der Klebstoff vollständig versagt hat, macht den Prozess tatsächlich unordentlicher. Frühzeitig zu handeln, wenn nur eine Ecke sich gelöst hat, gibt Ihnen viel mehr Kontrolle.
Werkzeuge, die die Arbeit einfacher und sicherer machen
Um eine Schutzfolie sauber zu entfernen, braucht man wirklich nicht viel. Das richtige Werkzeug ist fast immer etwas Weiches und Dünnes.
Empfohlene Werkzeuge
- Eine Kreditkarte oder Debitkarte (die flache Kante funktioniert perfekt)
- Ein Zahnstocher oder Kunststoffhebelwerkzeug, um unter eine enge Ecke zu gelangen
- Klebeband (um eine hartnäckige Kante anzuheben, ohne zu kratzen)
- Mikrofaser-Tuch zum Nachreinigen
Werkzeuge, die Sie vollständig vermeiden sollten
- Metallklingen oder Cuttermesser
- Schere oder Pinzette mit scharfen Spitzen
- Ihr Fingernagel wird in einem steilen Winkel darunter geschoben
Deshalb ist die Wahl des Werkzeugs so wichtig, wenn man einen iPhone-Schutzfolie entfernt: Das iPhone-Display besteht ebenfalls aus Glas. Metallwerkzeuge und scharfe Fingernägel können im Moment, in dem der Schutzfolie nachgibt, über den eigentlichen Bildschirm kratzen und eine Kratzspur hinterlassen, die keine neue Schutzfolie verbergen kann.
Wie man einen gehärteten Glas-Schutzfolie vom iPhone entfernt
Das Entfernen von Glas von einem iPhone ist das Szenario, auf das die meisten Menschen stoßen, da gehärtete Glas-Schutzfolien zum Standard geworden sind. Der Schlüssel ist Geduld und flache Winkel.
Schritt-für-Schritt-Anleitung
- Schalten Sie Ihr iPhone aus oder zumindest den Bildschirm aus.
- Finden Sie die am meisten angehobene Ecke. Meist ist das eine der unteren Ecken in der Nähe des Ladeanschlusses.
- Drücken Sie ein Stück Klebeband auf diese Ecke und ziehen Sie langsam nach oben. So entsteht genug Abstand zum Arbeiten.
- Schieben Sie die Kante einer Kreditkarte in den Spalt in einem sehr flachen Winkel (fast flach am Bildschirm entlang).
- Führen Sie die Karte sanft entlang der Kante, nicht zur Mitte hin. Lassen Sie die Karte, nicht Ihre Finger, die Trennung übernehmen.
- Sobald genug Schutzfolie angehoben ist, verwenden Sie beide Daumen, um sie langsam und gleichmäßig zurückzuziehen.
- Biegen Sie das Glas niemals zurück. Gehärtetes Glas bricht, und ein Riss im Schutz während des Entfernens erzeugt scharfe Splitter.
Der häufigste Fehler bei diesem Schritt: zu schnell vorgehen. Ein langsames, gleichmäßiges Abziehen von der Oberfläche (nicht scharf nach oben) sorgt dafür, dass der Klebstoff sauber gelöst wird.
So entfernen Sie einen weichen Folien-Displayschutz vom iPhone
Weiche Folie ist heute seltener, taucht aber noch bei günstigen Optionen und einigen Sichtschutzfiltern auf. Der Prozess zum Entfernen des iPhone-Schutzes ist etwas anders, da Folie flexibel ist und sich dehnt, anstatt zu brechen.
Wo der Unterschied zum Glas liegt
- Folie ist dünner und schwerer zu lösen, daher funktioniert eine Zahnstocher-Spitze besser als eine Karte, um den Lift zu starten.
- Einmal angehoben, ziehen Sie die Folie in einem Winkel von etwa 45 Grad ab (nicht flach, nicht senkrecht nach oben).
- Gehen Sie langsam vor, sonst reißt die Folie und es bleibt die Hälfte zurück.
- Folie hinterlässt mehr Rückstände als gehärtetes Glas, besonders wenn sie lange drauf war.
Reißt die Folie unterwegs ein, keine Panik. Drücken Sie ein Stück Klebeband fest auf die eingerissene Stelle und ziehen Sie den Rest in kleinen Abschnitten ab.
So reinigen Sie den Bildschirm nach dem Entfernen des Schutzes
Dies ist der Schritt, den die meisten überspringen, und genau deshalb entstehen bei ihrem nächsten Displayschutz Luftblasen darunter. Ein iPhone-Displayschutz ist nur so gut wie die Oberfläche, auf die er aufgebracht wird.

Rückstände entfernen
- Tupfen Sie eine kleine Menge Reinigungsalkohol (70% Isopropyl) auf ein Mikrofasertuch, nicht direkt auf den Bildschirm.
- Wischen Sie sanft in kreisenden Bewegungen über klebrige Stellen.
- Bei hartnäckigem Klebstoff lassen Sie den Alkohol fünf Sekunden einwirken, bevor Sie ihn abwischen.
- Verwenden Sie niemals Papiertücher, da diese die oleophobe Beschichtung auf iPhone-Bildschirmen zerkratzen.
Letzte Bildschirmvorbereitung
- Verwenden Sie ein sauberes Mikrofasertuch für ein abschließendes trockenes Abwischen
- Überprüfen Sie den Bildschirm unter hellem Licht und kippen Sie ihn, um verbleibenden Staub oder Rückstände zu erkennen
- Berühren Sie den Bildschirm nach diesem Schritt nicht mit den Fingern
- Bringen Sie den neuen Schutz innerhalb weniger Minuten nach der Reinigung an, bevor neuer Staub sich absetzt
Ein sauberer Bildschirm ist der wichtigste Faktor für ein blasenfreies Ergebnis. Wenn Sie diesen Schritt überspringen und direkt einen neuen Schutz anbringen, ist es fast garantiert, dass sich innerhalb von ein oder zwei Tagen Schmutz darunter ansammelt.
Was als Nächstes zu tun ist: Auswahl Ihres Ersatz-Displayschutzes
Sobald der alte Schutz entfernt und der Bildschirm sauber ist, haben Sie ein kurzes Zeitfenster, um einen neuen anzubringen, bevor Staub wieder zum Problem wird. Die Hauptfrage ist jetzt, welche Art von Schutz für Ihren Bildschirm zu Ihrem Telefon und Ihren Gewohnheiten passt.
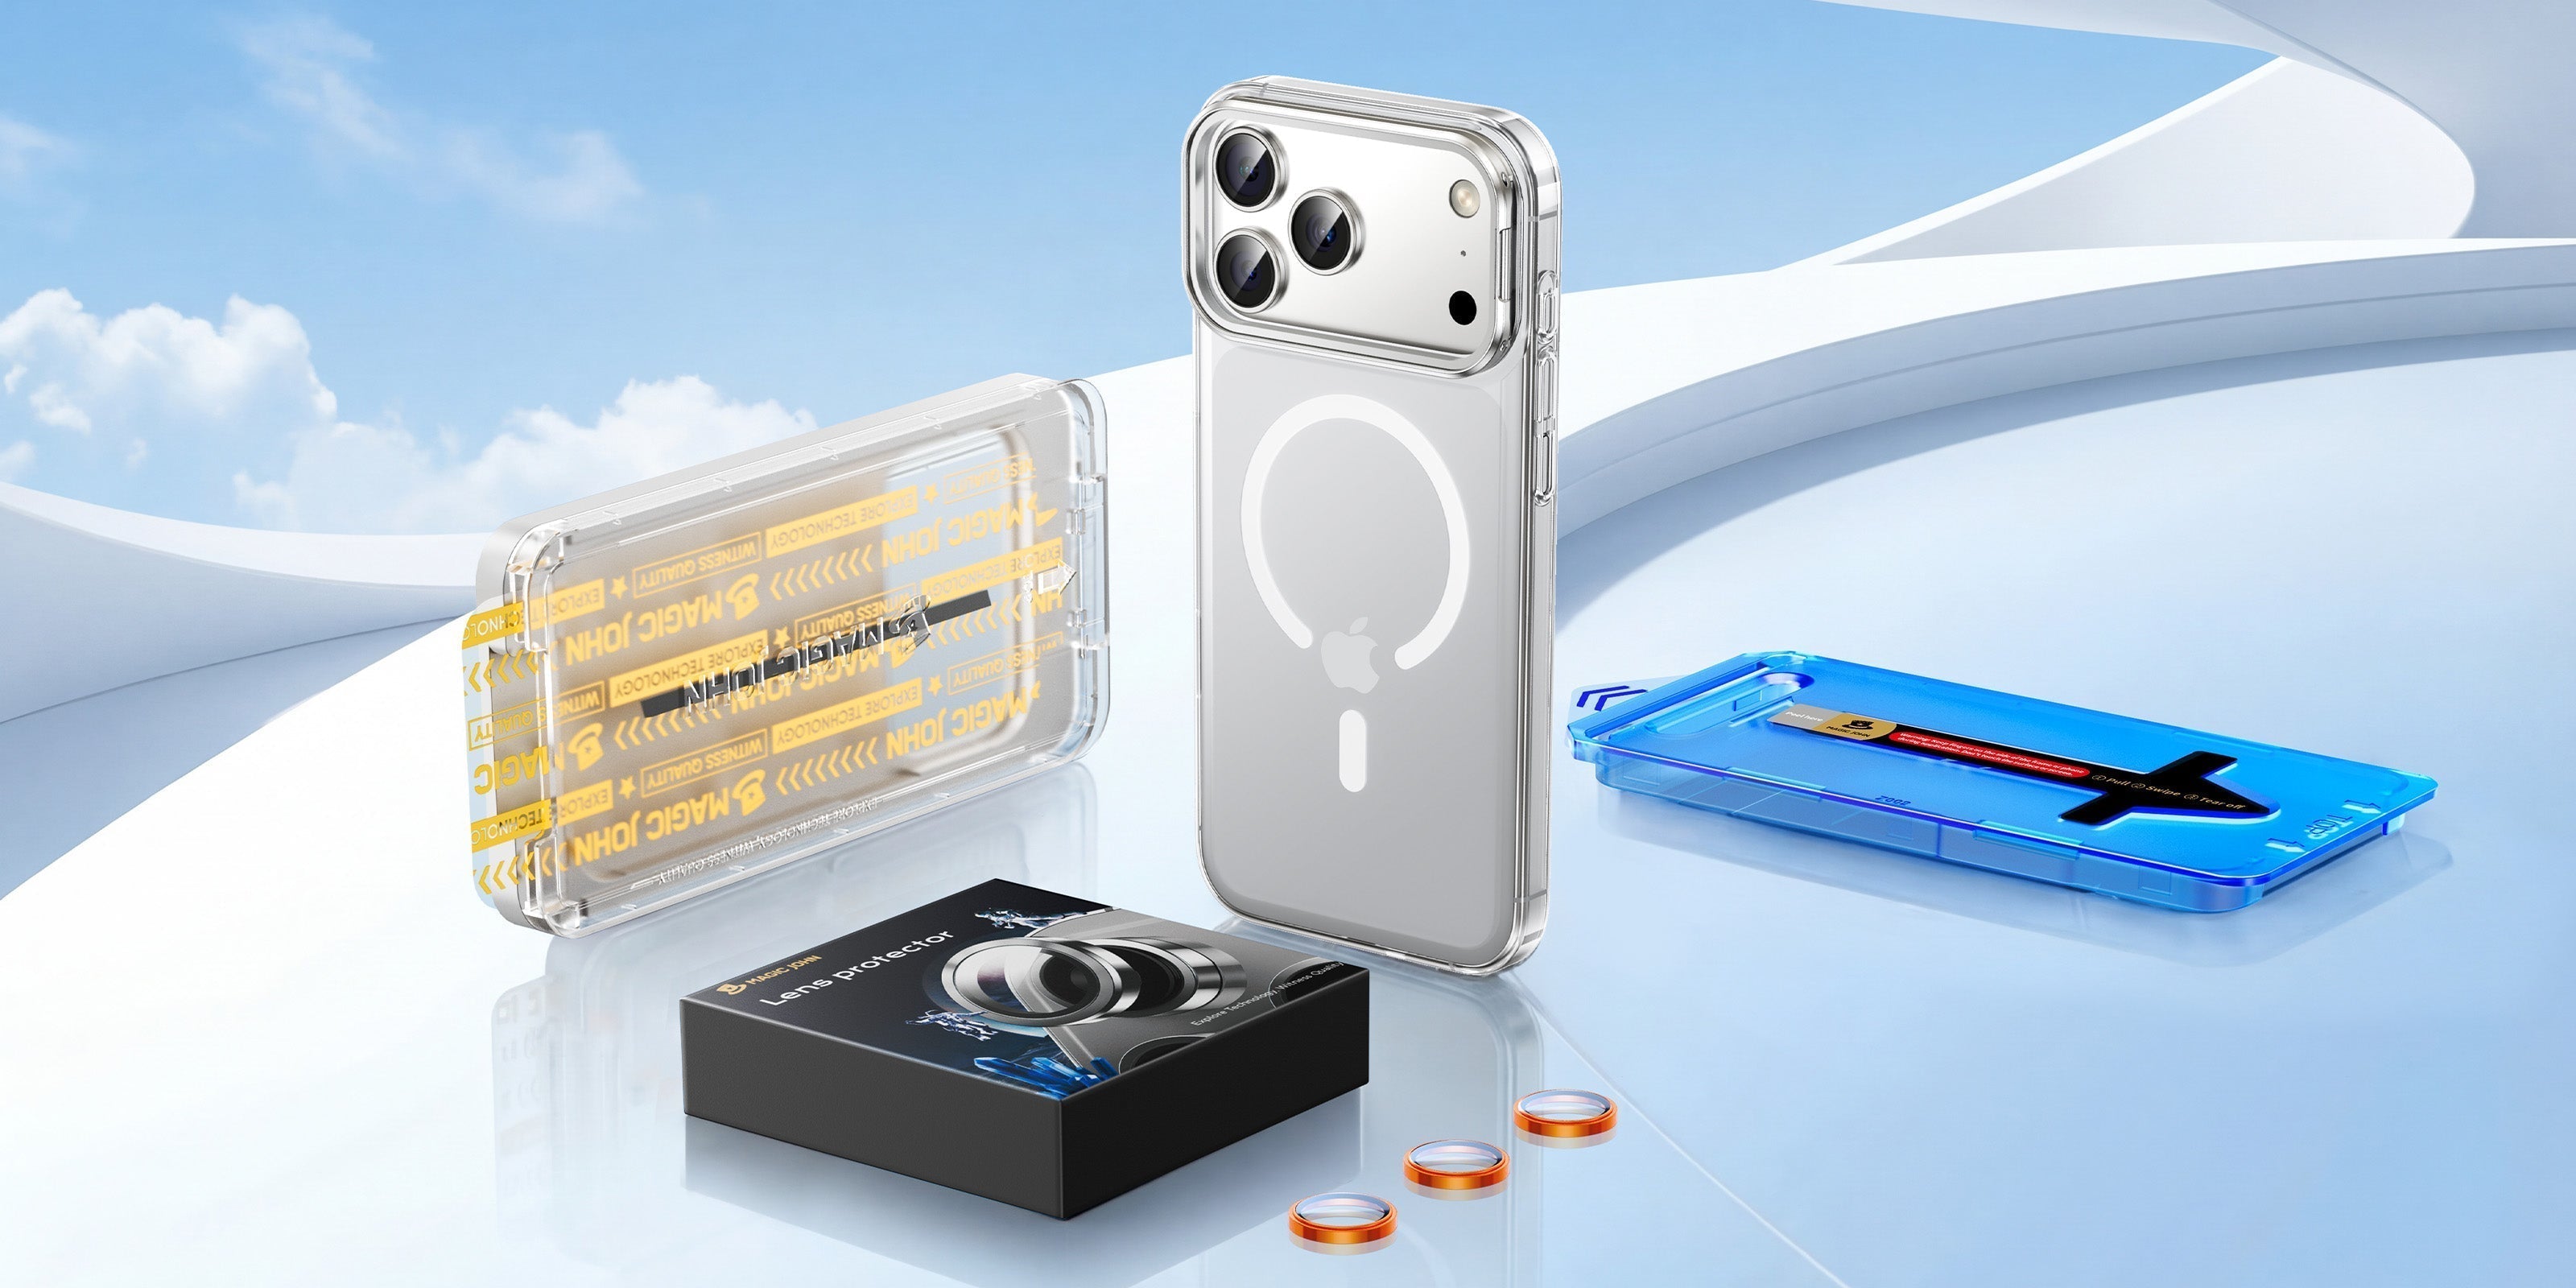
Wenn Ausrichtung, Blasen oder Staub zuvor frustrierend waren, ist der MAGIC JOHN Gen 3 Displayschutz so konzipiert, dass all diese Frustrationen beseitigt werden. Der Gen 3 Applikator wird am Telefon befestigt und richtet den Schutz automatisch aus, mit einem integrierten Staubentfernungsschritt, sodass Sie während der Installation nicht gegen Schmutz kämpfen müssen. Das 9H gehärtete Glas bedeckt das gesamte Display von Rand zu Rand, und der wiederverwendbare Installationsrahmen bedeutet, dass Sie nur das Glas selbst ersetzen, nicht das ganze Set.

Für alle, die nach dem Entfernen den besten Displayschutz für das iPhone suchen, lohnt es sich, auf 9H-Härte, vollständige Kantenabdeckung und ein sauberes Installationssystem zu achten. Die gleiche Sorgfalt bei der Installation sorgt dafür, dass sich der gesamte Prozess auszahlt.
Kurze Zusammenfassung
Das Entfernen eines iPhone-Displayschutzes ohne Beschädigung beruht auf fünf Dingen: die richtigen Werkzeuge verwenden, an einer angehobenen Ecke beginnen, den Winkel niedrig und gleichmäßig halten, gehärtetes Glas niemals biegen und den Bildschirm vor dem Aufbringen eines neuen Schutzes gründlich reinigen. Gehen Sie langsam vor, dann kommen sowohl Ihr alter Schutz als auch Ihr Bildschirm unbeschadet davon. Wenn Sie bereit sind, ihn zu ersetzen, bietet MAGIC JOHN speziell entwickelte Optionen, die die nächste Installation genauso sauber machen wie die Entfernung.
Durchstöbern Sie das Sortiment von MAGIC JOHN an iPhone-Displayschutzfolien, um die passende für Ihr Gerät zu finden.
FAQ zum Entfernen von iPhone-Displayschutz
F1: Kann ich meinen iPhone-Displayschutz ohne Werkzeuge entfernen?
In manchen Fällen ja. Wenn eine Kante bereits deutlich absteht, kann ein sehr sanfter Fingernagel den Abziehvorgang starten. Das Risiko besteht darin, zu fest zu drücken oder in einem steilen Winkel zu arbeiten, wodurch der Nagel beim Lösen des Schutzes über das eigentliche Display gezogen werden kann. Eine Karte oder Klebeband ist immer sicherer. Wenn Ihr Schutz noch vollständig haftet und keine abstehenden Kanten hat, ist es wahrscheinlich, dass Sie den Bildschirm zerkratzen oder Rückstände hinterlassen, wenn Sie versuchen, ihn mit bloßen Händen abzuziehen.
F2: Wird das Entfernen meines Displayschutzes das iPhone-Display beschädigen?
Nein, wenn Sie den iPhone-Displayschutz vorsichtig abnehmen. iPhone-Bildschirme haben eine starke oleophobe Beschichtung, sind aber dennoch aus Glas. Gefahren sind Kratzer durch scharfe Werkzeuge, plötzliche Kraft beim Lösen des Klebers oder das Biegen eines gehärteten Glas-Schutzes, bis er beim Entfernen bricht. Solange Sie ein weiches, flaches Werkzeug verwenden, den Winkel flach halten und langsam abziehen, bleibt der Bildschirm unversehrt.
F3: Wie entferne ich klebrige Rückstände nach dem Entfernen eines Displayschutzes?
Ein leicht angefeuchtetes Mikrofasertuch mit 70% Isopropylalkohol entfernt die meisten Rückstände. Wischen Sie in sanften Kreisbewegungen über die klebrige Stelle und lassen Sie den Alkohol die Arbeit machen, anstatt stark zu schrubben. Bei besonders hartnäckigen Flecken halten Sie das feuchte Tuch einige Sekunden auf die Stelle, bevor Sie wischen. Vermeiden Sie Aceton, Haushaltsglasreiniger oder alles, was Bleichmittel enthält, da diese die oleophobe Beschichtung des Bildschirms angreifen können.
F4: Wie schnell sollte ich einen neuen Displayschutz anbringen, nachdem ich den alten entfernt habe?
Sobald der Bildschirm sauber und trocken ist. Längeres Warten als ein paar Minuten birgt das Risiko, dass sich neuer Staub auf der Oberfläche absetzt, besonders in Räumen mit Klimaanlage oder Ventilatoren. Wenn das Leben dazwischenkommt und Sie nicht sofort einen anbringen können, legen Sie das Telefon mit dem Bildschirm nach unten auf ein sauberes Mikrofasertuch, bis Sie bereit sind. Für einen reibungslosen Wechsel des iPhone-Displayschutzes bereiten Sie alles vor und installieren ihn in einem durchgehenden Prozess, anstatt jetzt zu reinigen und später anzubringen.


Einen Kommentar hinterlassen
Diese Website ist durch hCaptcha geschützt und es gelten die allgemeinen Geschäftsbedingungen und Datenschutzbestimmungen von hCaptcha.