

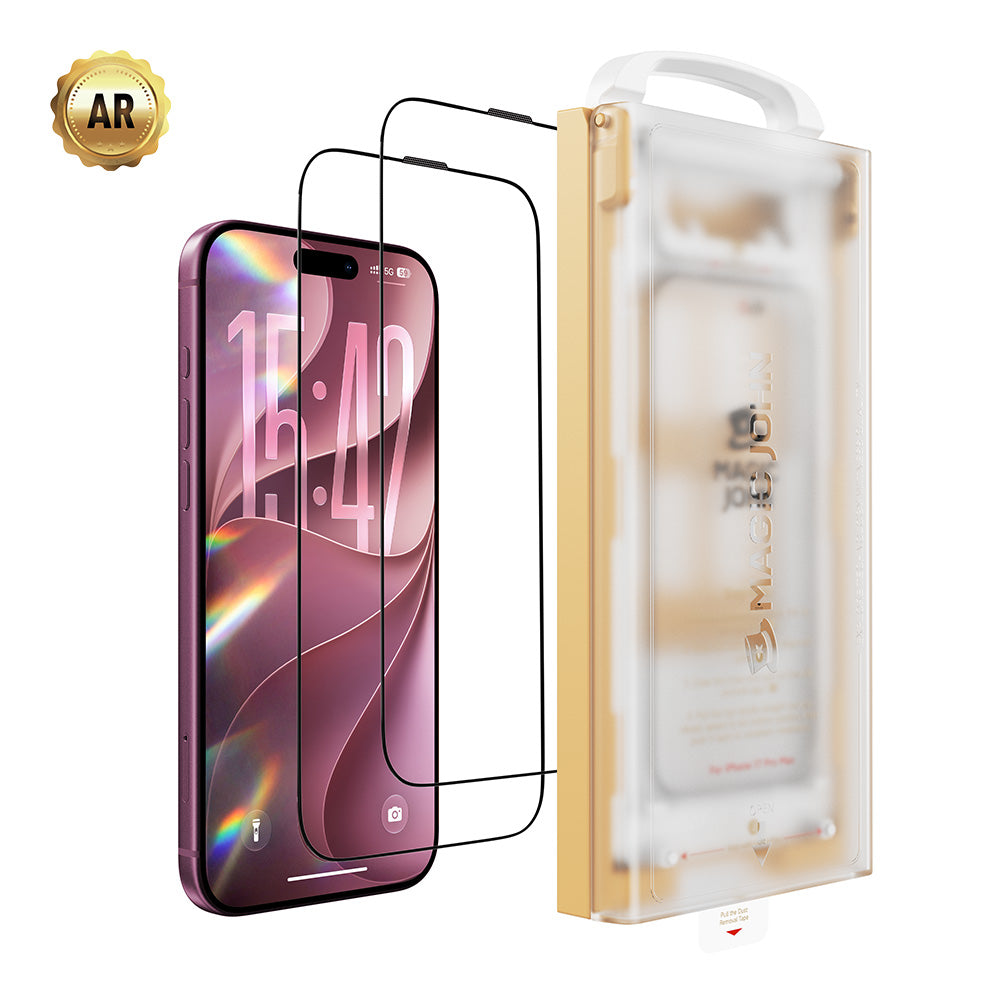
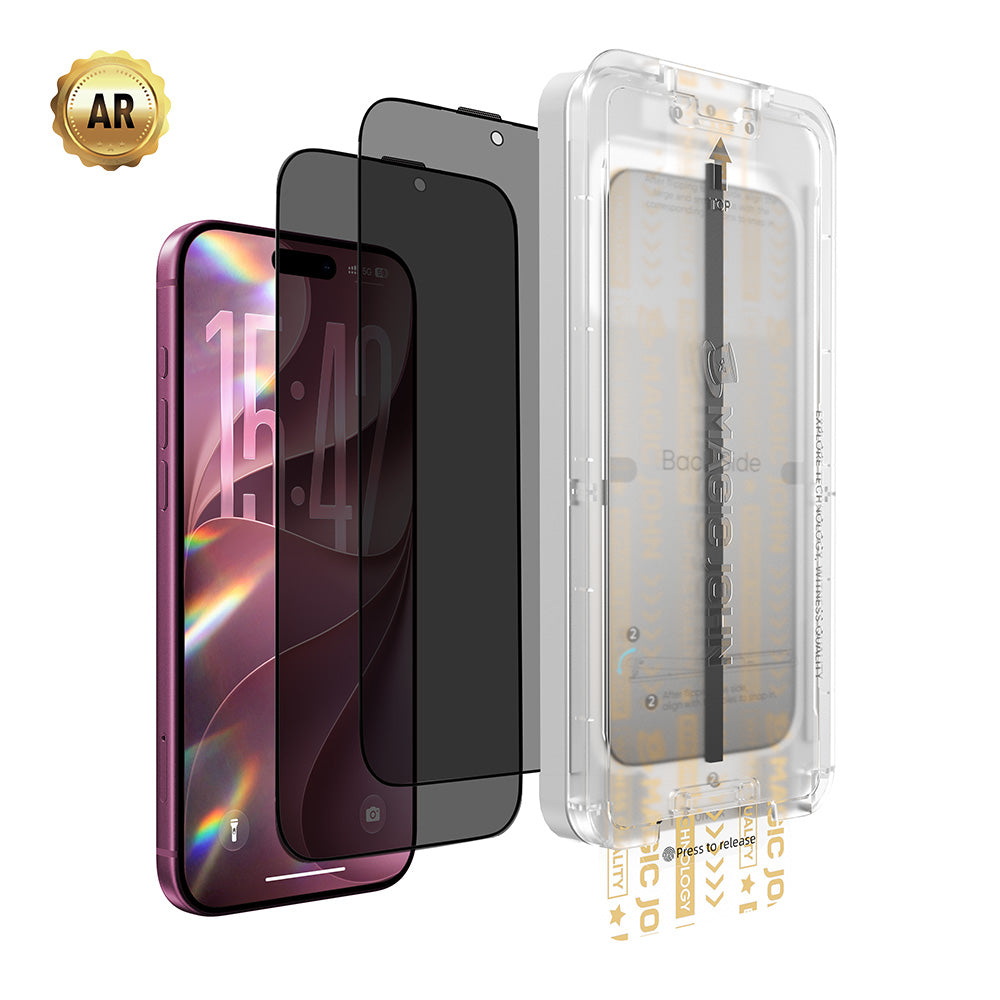


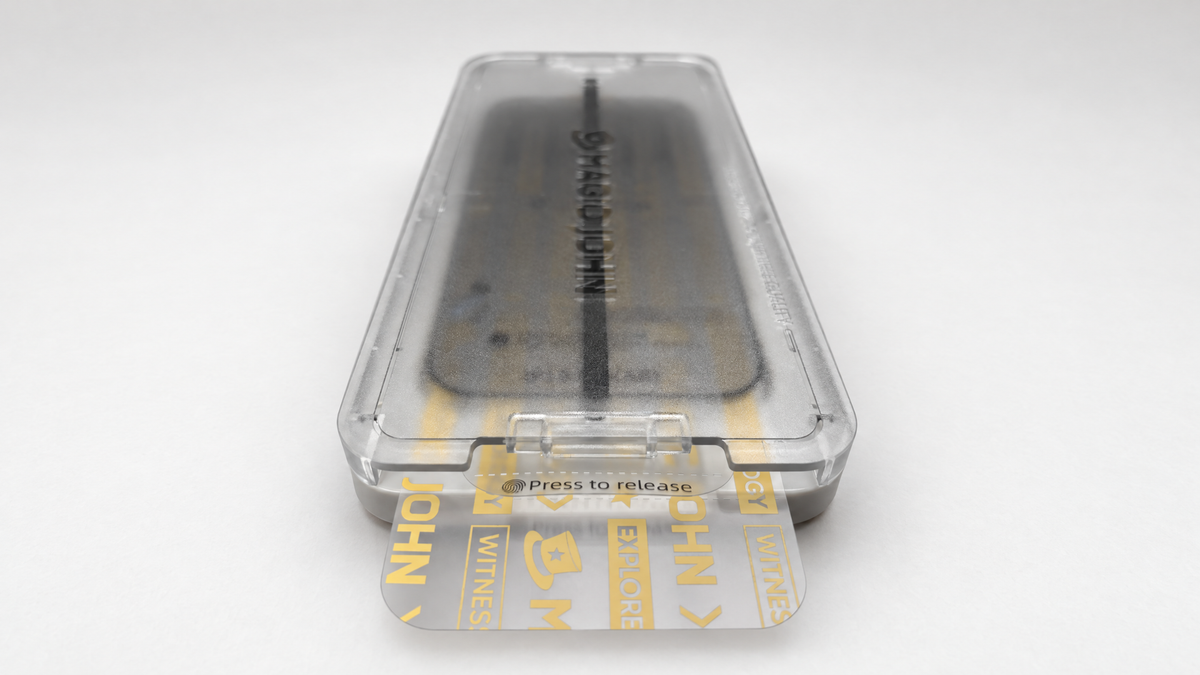
A screen protector only does its job if it goes on cleanly. Most problems, such as trapped dust, bubbles and a crooked fit, come down to preparation and alignment rather than the film itself. This guide follows the installation steps from Magic John's own tutorials for our Gen 2 and Gen 3 kits, so you can apply your protector step by step. Need a protector first? Browse Magic John screen protectors.
Before you start
- Check that it fits. Confirm the protector is made for your exact phone model.
- Check your accessories. Make sure everything in the kit is there before you begin.
- Turn off your phone.
- Know which kit you have. Gen 2 and Gen 3 kits are applied a little differently.

Gen 2: step-by-step installation
- Open the installation kit. Take out the alcohol cloth and tear open its packet.
- Wipe the screen with the alcohol cloth. This removes fingerprints, grease and other dirt.
- Remove the excess alcohol with the lint-free cloth.
- Use the dust removal sticker to lift any remaining dust or particles.
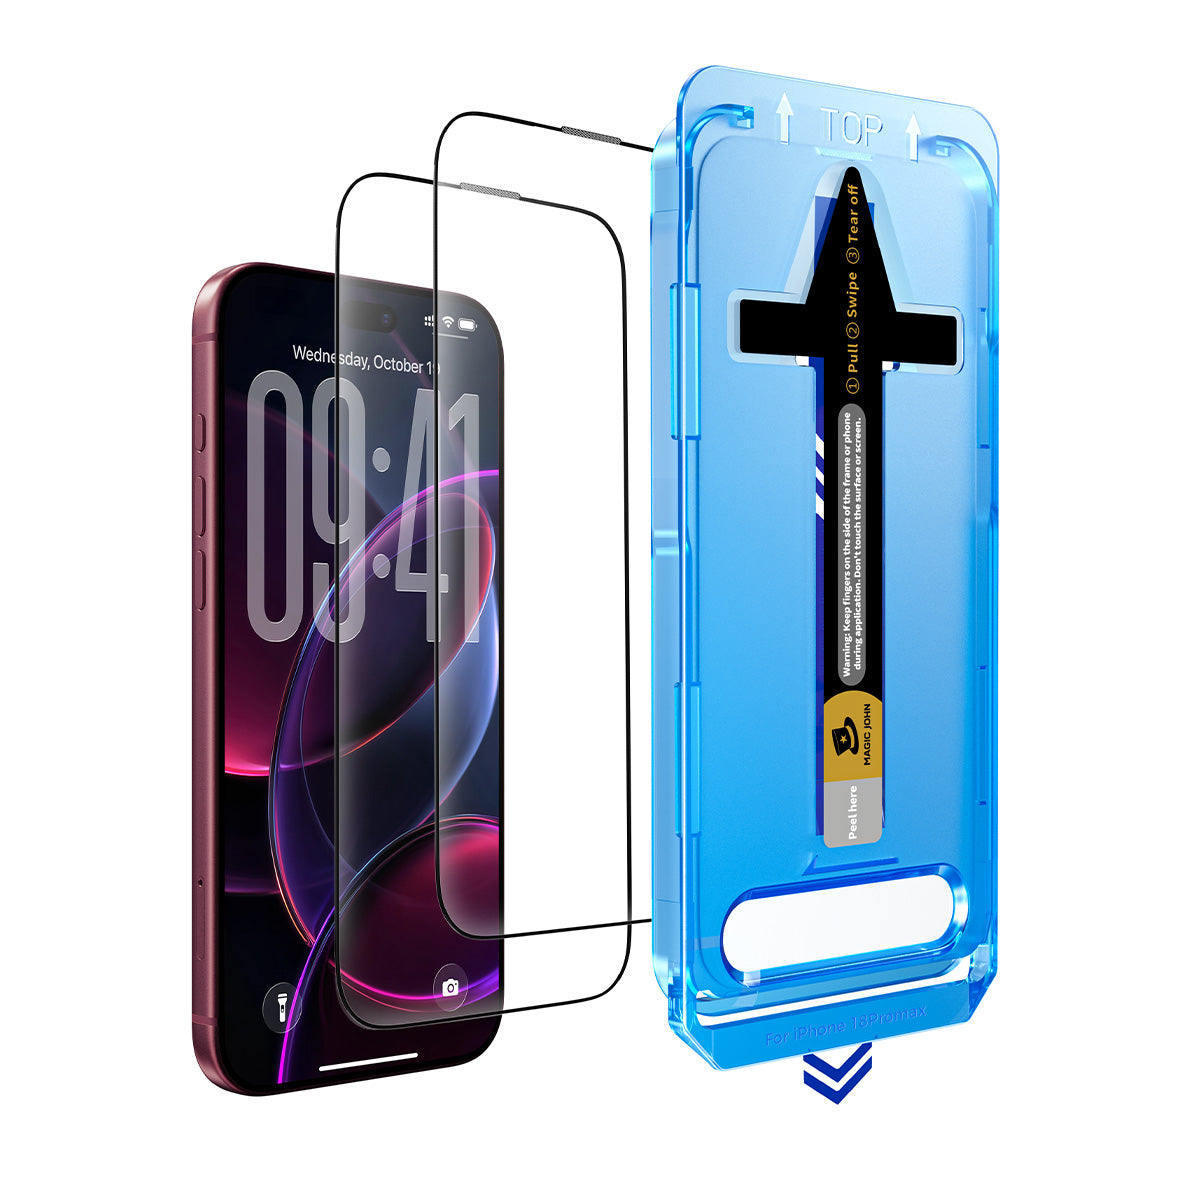
- Check the direction. The arrowhead at the top corresponds to the front camera. Do not turn the protector upside down.
- Put the case on top, then pull out the dust removal strip. Pull it without pressing on it. Do not press the middle of the case, and do not rest your whole hand on it. Hold the two sides of the arrowhead with two fingers; this is very important.
- Peel off the release film. After the strip is out, swipe the slot with your finger, then tear off the sticker from the bottom to the top. Do not touch the middle with your hands. Keep your fingers on both sides of the arrow at the top.
- Let the protector adhere. Once you tear the film off, adhesion begins. When it is about halfway done, remove the case. Always remove the case from the bottom. There is double-sided tape at the top, and lifting from the top can peel the screen protector off and ruin the application.
- Speed it up. After the case is off, swipe from the middle to help the protector adhere faster.
- Finish. When the application is complete, tear off the final film on top.
Prefer to watch? See the Gen 2 video tutorial.

Gen 3: step-by-step installation
- Check the accessories after receiving the product, and turn off your phone.
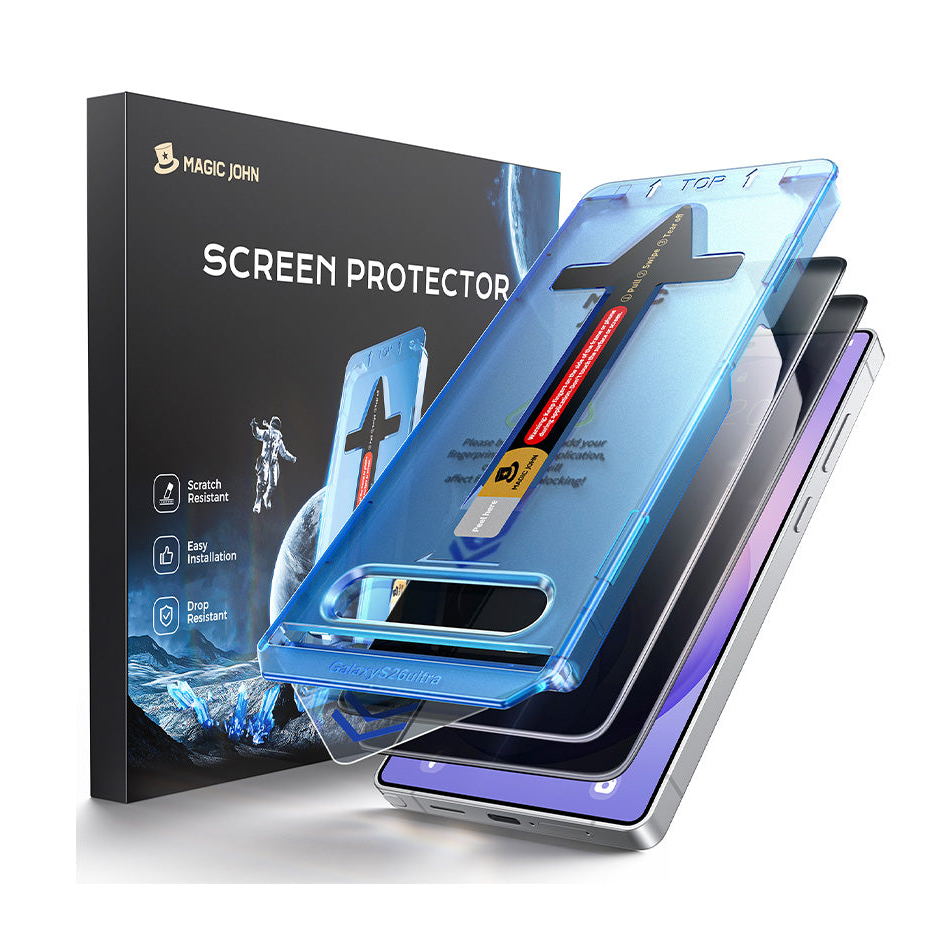
- Open the applicator and check that the screen protector is securely fixed. If it is not, insert it into the slot and secure it, or the installation can fail.
- Place your phone in the applicator. Align the hollowed-out section with the phone's camera and press the four corners to secure it. Make sure it faces the correct direction; the wrong placement can make the phone protrude.
- Clean the screen. Take out the cleaning kit. First use the alcohol wipe, then dry with the dry cloth, then use the dust removal sticker. Do not clean the phone before placing it in the applicator.
- Close the applicator and press down slightly to secure it. Check the sides are firmly fixed. Pull out the dust removal strip steadily, then wait about 10 seconds for adhesion and air expulsion to finish. Do not shake it or move it up, down, left or right, and do not press on the applicator with your hand.
- Lift the cover and peel off the release film. Lift the cover carefully and peel the release film from the bottom upwards. The protector automatically expels the air and adheres in place.
Prefer to watch? See the Gen 3 video tutorial.
What to do if bubbles appear
| Kit | Problem | What to try |
|---|---|---|
| Gen 2 | Bubbles during or after application, or at the edges | Lift one of the edges, or use the included scraper to scrape the bubbles out. |
| Gen 3 | Small bubbles near the edges | Use the dry cloth and gently rub outward with a little pressure. The bubbles will disappear. |
| Gen 3 | Bubbles of different sizes in the center | Clean your fingers first so there is no dust. Gently lift the top of the protector near the earpiece until the bubbles disappear, lower it slowly, then swipe toward the center to expel the air. Finish by wiping the screen gently with the dry cloth. |
If the film peels at the edges later on, see our guide on why screen protectors lift.
If something goes wrong
If you damage your screen protector during installation or run into any problem, contact our online customer service.
After installation
- Clean the protector the way you would clean the screen: a soft, slightly damp cloth.
- Replace the protector when it is cracked or heavily scratched. That is the point of having one.
Not sure which kind of protector to choose? Our guide on how to choose a quality tempered glass screen protector covers what to look for.
FAQ
Should I clean my screen before or after placing the phone in the installer?
It depends on your kit. With Gen 2 you clean the screen first. With Gen 3 you place the phone in the Magic John Gen 3 applicator first, then clean it. We recommend to clean it after placing it in the Gen 3 applicator.
Why does the Gen 2 case have to come off from the bottom?
There is double-sided tape at the top of the case. Removing it from the top can peel the screen protector off and ruin the whole application.
How long does Gen 3 adhesion take?
After you pull out the dust removal strip, wait about 10 seconds for adhesion and air expulsion to complete, without moving or pressing on the Gen 3 applicator.
What if I damage the protector while installing it?
Contact our online customer service.
Does a screen protector work on a foldable phone?
Magic John's iPhone Duo screen protector is for the outer display only at the moment. We'll be likely making one for the inner folding display in the future.


Laisser un commentaire
Ce site est protégé par hCaptcha, et la Politique de confidentialité et les Conditions de service de hCaptcha s’appliquent.