


Most screen protector failures come down to one thing: rushing. Dust gets trapped, alignment is off, or the adhesive gets touched before the glass even lands. Done right, screen protector installation takes about five minutes and gives you a clean, bubble-free result that lasts. This covers everything from setting up your space to fixing bubbles after the fact, so you can apply a screen protector with confidence the first time.
What You Need Before You Start
The biggest reason screen protectors go wrong is not skill. It is preparation.
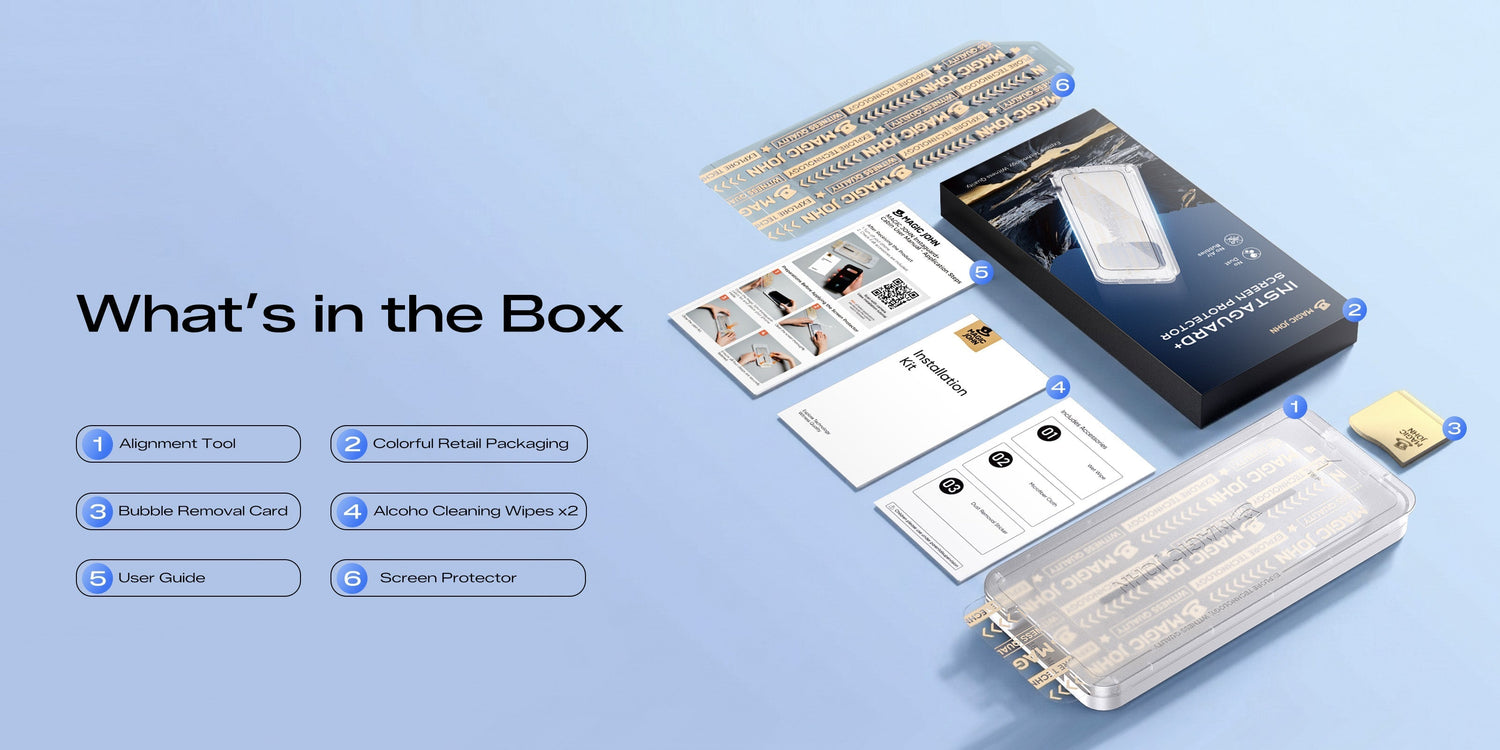
Good news: most quality protectors include everything you need in the box. Before you open anything, check that you have all of these:
- Alcohol wipe — removes oil and fingerprints from the screen
- Microfiber cloth — buffs the screen dry after the alcohol wipe
- Dust removal sticker — lifts fine particles that the cloth leaves behind
- Squeegee or card — pushes out air bubbles after placement
- Alignment frame or applicator — if included, makes precise placement much easier
Two things to do before touching anything: wash your hands thoroughly, and do not touch the screen again after that. Even clean fingers leave oil.
The Best Place to Apply a Screen Protector
You need a clean space and a hard surface, along with good lighting.
The bathroom steam method works well. Run a hot shower for a minute or two, turn it off, wait about 10 to 15 minutes, then do your installation in that room. The steam causes airborne dust to settle onto surfaces and floors instead of floating at face level. The air will not be wet or humid by then, just cleaner than usual.
A kitchen counter is another solid option. Hard surfaces collect less lint than carpet and fabric-heavy rooms like bedrooms. Avoid doing this on a couch, bed, or anywhere near a fan or open vent.
Lighting matters too. Work somewhere with good light, and try to position a light source to the side of your phone. Angled light makes dust particles and screen imperfections much easier to spot before you commit.
What to avoid: The air in a typical bedroom or living room is full of floating dust particles, and the moment you peel the backing off your protector, those particles start landing on the adhesive.
How to Clean Your Screen Before Applying the Protector
Cleaning is the step people rush through, and it is the most important one. A single oil smear or speck of dust under the glass becomes permanent.
Use the Alcohol Wipe First
Unfold the alcohol wipe and clean the screen in slow, overlapping strokes from the center outward. This removes fingerprint oil, skin residue, and any surface grease.
Do not substitute this with kitchen paper towels or regular wet wipes. Those leave lint and do not cut through oil the same way.
Follow With the Dry Cloth
Use the microfiber cloth to buff the screen dry. Make sure no alcohol residue remains. If the surface is still slightly wet when the protector goes down, adhesion will be weaker in those spots.
Use the Dust Sticker Last
Press the dust removal sticker gently onto the screen and peel it away. The motion is a light press and lift, not a scrub. It picks up fine particles that the cloth cannot grab.
Do this step last, and then apply the protector immediately. If you wait, dust will settle right back onto the screen and you will be back where you started.
How to Align a Screen Protector Correctly
Alignment is where most installations go wrong. The instinct is to eyeball it from above, but that rarely gives an accurate result. You need fixed reference points.
What to align to:
- The speaker grille at the top of the phone
- The Dynamic Island or front camera cutout (on iPhone)
- The distance from each corner of the screen to the edge of the protector
These fixed openings are your most reliable guides. The outer edge of the phone is less reliable because cases and bezels can create a false sense of position.
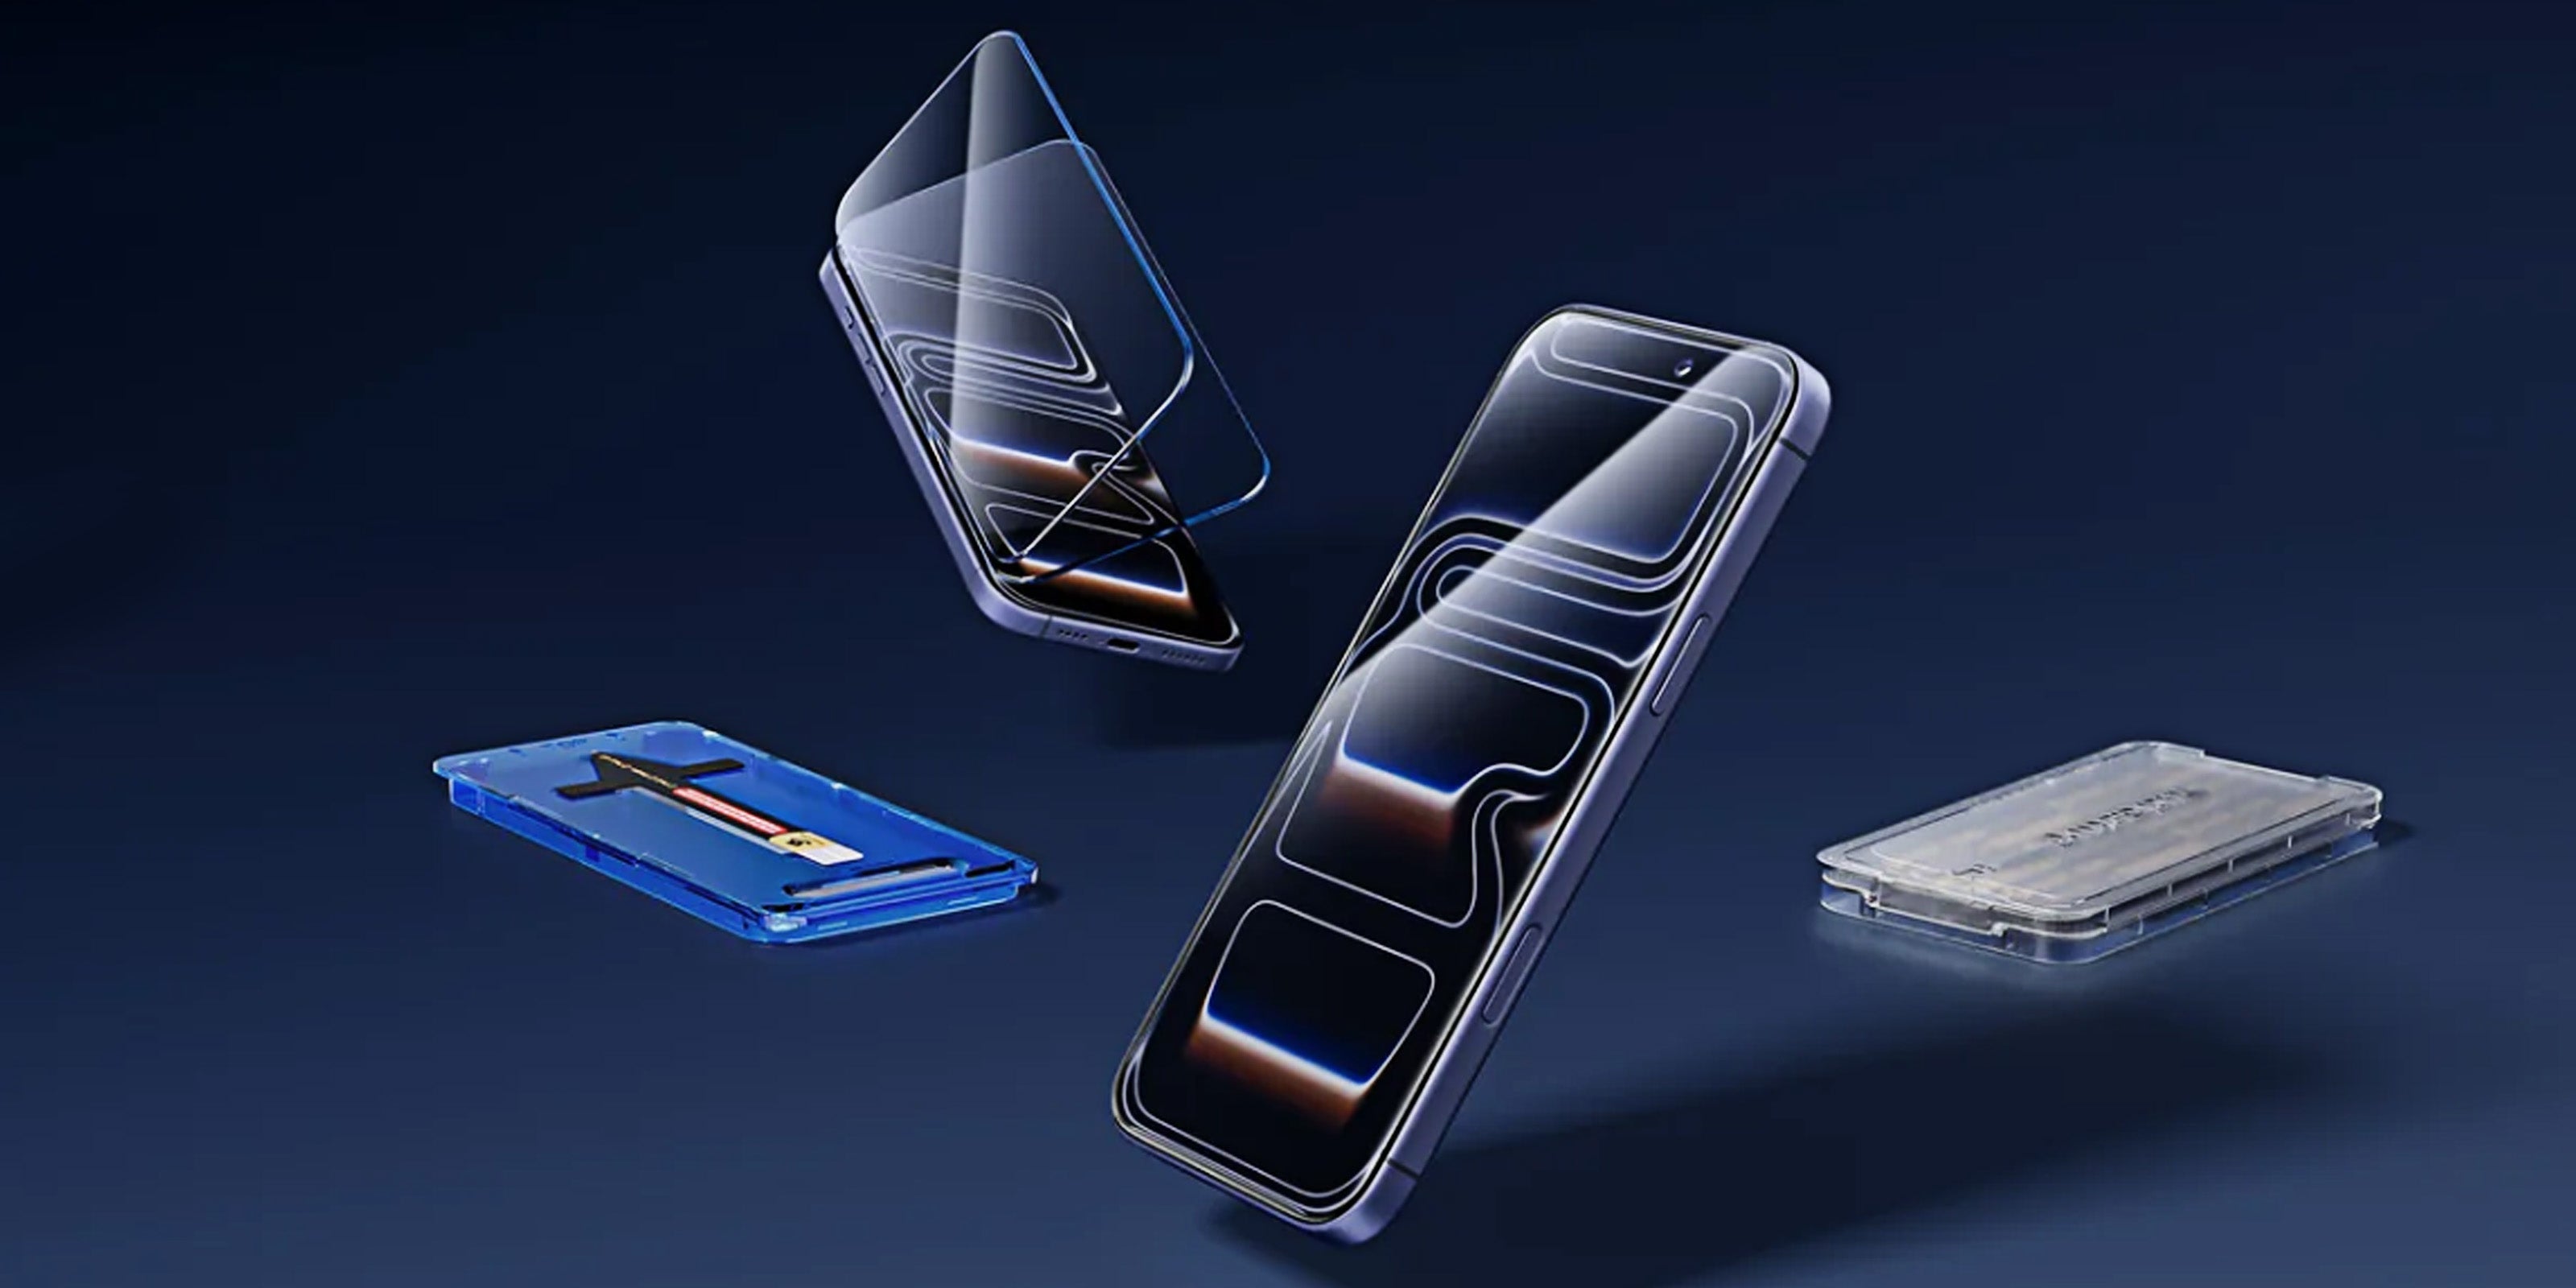
If your protector includes an alignment frame or applicator, use it. Place the frame on the phone first, slot the protector into it, and let it drop into position. This removes almost all margin for error.
Magic John's Gen 3 applicator uses this mechanism, letting the protector self-position onto the screen with precision. It is what makes the installation repeatable across different users and phone models.

Without a frame: hold the protector above the screen, check all four corners for even spacing, confirm the cutout lines up with the speaker or Dynamic Island, then lower it down from the top edge first.
How to Place the Screen Protector Without Trapping Bubbles
How you lower the protector onto the screen determines how many bubbles you start with.
Start from one end, typically the top near the speaker or camera cutout. Do not drop the whole protector flat at once. Lower the top edge first, let it make contact, then allow the rest to fall naturally.
A good tempered glass protector will pull itself down through static attraction and gravity once the top edge makes contact. You do not need to press. Let it settle for three to five seconds and look at the alignment before you do anything else.
If you notice the position is off and the protector has not fully adhered yet, use a plastic card to gently lift a corner and reposition. Never use a metal tool for this. Metal will scratch the bare screen if it slips.
Once alignment looks correct, leave it alone for a moment before pressing anything down.
How to Get Rid of Bubbles After Installing Your Screen Protector
Push Bubbles Out With a Card
Wrap your squeegee or a credit card in the microfiber cloth to protect the glass surface. Start from the center of the screen and push toward the edges in firm, even strokes. Always move outward, not in circles or random directions.
Small Bubbles That Will Not Move
If you have bubbles smaller than about 3mm that will not respond to the squeegee, leave them alone. The adhesive continues to cure over 24 to 48 hours, and these small air pockets almost always disappear on their own during that time. Pressing harder will not speed this up and can shift the protector.
Dust Bubbles Under the Glass
These look different from air bubbles. Dust bubbles have a sharp, defined edge and do not move when you press on them. They are fixed in place because a particle is sitting underneath.
To fix one:
- Use a piece of tape at the corner of the screen protector nearest to the bubble and slowly lift that edge
- Use a fresh dust sticker to pick up the particle from the screen surface
- Also press the sticker lightly to the adhesive side of the protector to clean it
- Lower the protector back into position and press out any new air
If you have more than three dust bubbles or any are in the center of the screen, it is worth re-doing the full installation from the cleaning step.
Bubbles at the Edges That Keep Lifting
Edge lifting is usually a fit problem, not an installation problem. Check two things:
- Is your case pressing against the edge of the protector? A thick case lip can push the glass up from underneath. Try removing the case to see if the edge stays flat.
- Is the protector cut for your exact phone model? A slightly wrong size will always lift at the edges no matter how carefully it was applied.
If the case is the issue, switch to a case-friendly version of the same protector, which is cut a few millimeters shorter to give the case room.
Common Screen Protector Installation Mistakes to Avoid
| Mistake | What Happens | What to Do Instead |
| Touching the adhesive side | Fingerprint oil blocks adhesion, creates bubbles | Hold edges only, never the sticky surface |
| Skipping the dust sticker | Dust trapped under glass permanently | Always use the dust sticker last, right before placing |
| Repositioning too many times | Adhesive weakens, more dust collects | Align carefully before placing, aim for one clean drop |
| Pressing hard before aligning | Glass locks in place before you are ready | Light touch only until alignment is confirmed |
| Using paper towels to clean | Lint transfers to screen | Microfiber cloth only |
Your Screen Is Now Protected
Clean the screen, choose the right environment, align carefully, and place from one edge. Those four steps, done in order, are what separates a clean install from one full of bubbles and frustration. Magic John's iPhone screen protectors include a third-generation applicator that handles the alignment step automatically, along with a 180-day warranty so you have backup if anything goes wrong.
FAQ about Screen Protector Installation and Care
Q1: Can I reuse a screen protector after taking it off?
Not recommended. Once fully removed, the adhesive picks up dust and loses holding strength. A few careful adjustments during initial installation are fine, but a protector that has been fully peeled off rarely bonds cleanly a second time.
Q2: Should I turn my phone off before applying a screen protector?
Yes. A dark screen makes it much easier to spot dust particles and check alignment. It also prevents accidental screen taps during installation that can shift the protector before it has set.
Q3: Does it matter if I have a case on while installing?
Remove the case first. A case can cause slight flex in the phone body and throw off your alignment. Once the protector has fully set, around 24 hours later, put the case back on.
Q4: Why does dust keep getting under my screen protector after a few weeks?
This is almost always a sign that the edges are starting to lift. Edge lifting creates tiny gaps where dust can enter over time. It is often caused by case pressure or heat exposure. Press the edges back down firmly. If the lifting keeps returning, the protector needs to be replaced.
Q5: How long does it take for a screen protector to fully set?
Most tempered glass protectors reach full adhesion within 24 to 48 hours. After installation, wait at least 30 minutes before putting your case back on. Applying the case too soon puts pressure on the edges before the adhesive has bonded, which is a common cause of early edge lifting.

コメントを書く
このサイトはhCaptchaによって保護されており、hCaptchaプライバシーポリシーおよび利用規約が適用されます。